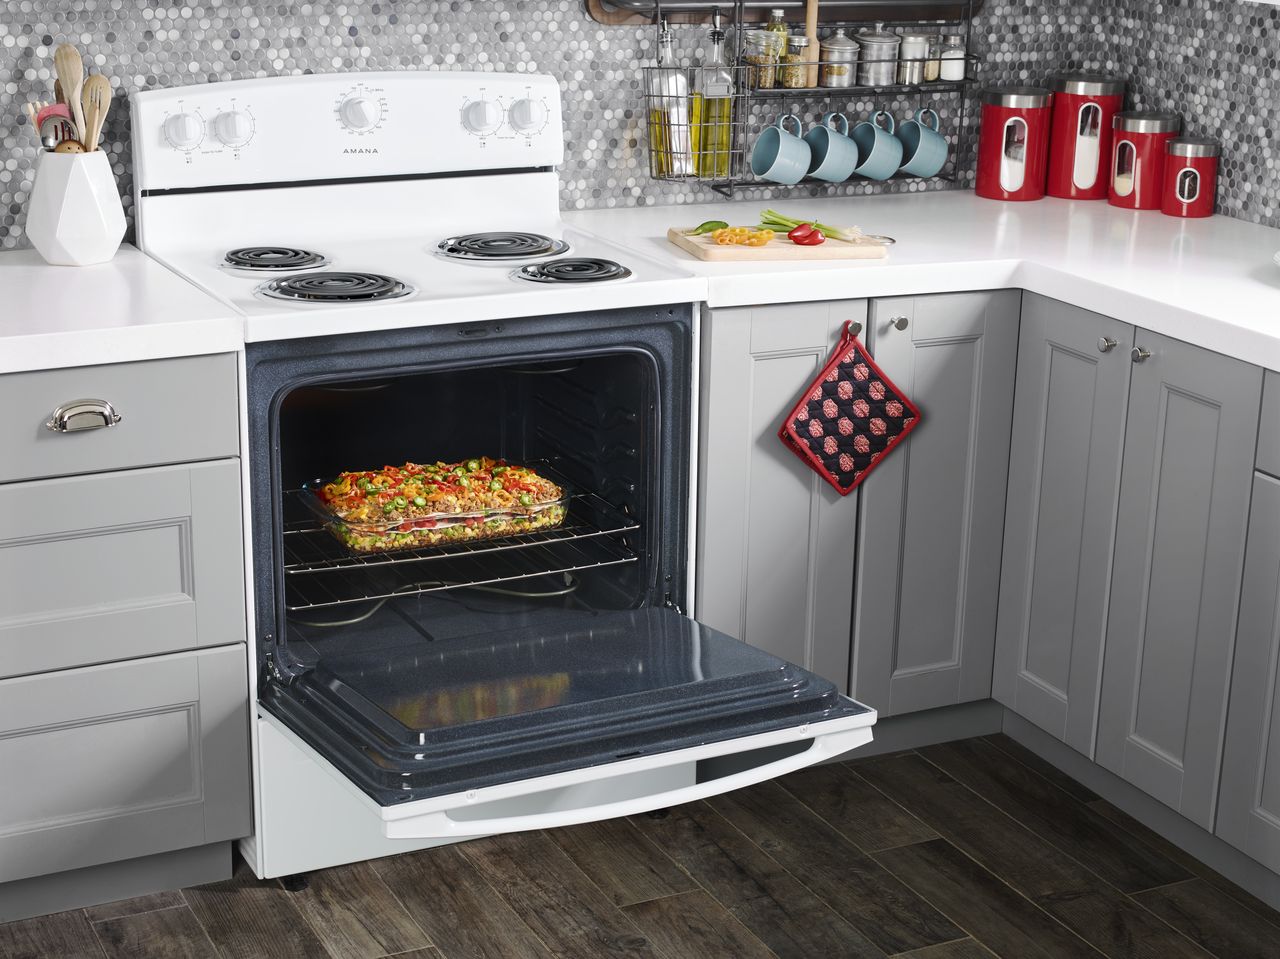
When your stove gets a lot of use, it can build up some impressive grunge. An important part of regular maintenance for a burner stove top is keeping it clean enough to be safe and sanitary. This is a lot easier said than done, especially if you understand just how many foot particles and layers of grease can build up. not just on the cooktop surface, but also on the drip pans underneath and sometimes even inside the cooktop itself.
Today, we’re here to offer a helpful guide on getting your electric or gas stovetop completely clean, including that elusive underside that seems to fill with unreachable crumbs.
Safety First
Make sure your stove and oven are both completely off and cool before getting started. You don’t need to unplug your stove, but it will definitely make sure there’s no risk of the appliance heating up as you clean it.
Step 1: Remove & Soak the Burners and Drip Pans
Start by removing the burners and drip pans. For the burners, gently lift each burner and then pull directly away from the anchoring port. Pull firmly and each burner should slide out of its socket. It is possible that your burner has a release switch before it will pull away, but most do not.
Then lift away the drip pans. Drop your drip pans into a sink full of hot, soapy water to soak. If you are uncomfortable soaking your burners in the same way, lay them on a towel and spray them down with degreaser or sudsy detergent and let that soak in to break down the worst of the grease.
This will make both burners and the drip pans much easier to scrub later.
Step 2: Spray Down the Stove Surface
Next, take a paper towel and scoop up any loose food debris or non-caked grease/spills that you can get with a dry towel. Sweep these into the trash so they don’t get in the way of the surface cleaning. Spray down the top of your stove surface with a heavy-duty stove cleaner or degreaser. With the drip pans up, you should even be able to get the crusty rings around where the drip pans rested. For most stove cleaning products, you’ll want to let the chemicals soak a little while to work their way through the grease. Again, this will save you a ton of scrubbing.
Step 3: Scrub the Burners and Pans
While the stove sits, turn your attention back to the burners and drip pans. Use a sturdy scrubbing sponge and detergent to break up the grease and cooked-on food drips. If you have trouble scrubbing, sprinkle on borax or baking soda which are sharp and highly scrubby on a molecular level and can help bust even the toughest crusted-on gunk.
When your burners and drip pans are sparkling clean, or you’ve resolved to get new ones after scrubbing straight through a rust spot, set them aside on a towel to dry.
Step 4: Scrub Down The Stove Surface
Now that the degreaser or detergent has soaked in, use your sponge to wipe away the suds. Rinse your sponge often and enjoy the fun of seeing the streaks of sparkling-clean difference with each swipe. For many people, this is secretly their favorite part. Anything still in place should come up with a little more soap and scrubbing. Work at the stove surface, especially the crusty rings around where your drip pans rested until the entire stovetop is clean to your satisfaction. If you have a gas stove, be careful not to get detergent or chemicals on the electric starters.
Now for the repair-worthy step that most stove-owners don’t know about.
Step 5: Lift the Stove Top
Looking into the burner holes, no doubt you can see a surface with grease and crumbs, possibly from decades of not being cleaned by the previous residents of your house and cooks at your stove. That surface is actually the outside top of your oven, which is why the stove gets warm when you bake things. You can clean that surface, but it requires a little know-how.
Disassembly instructions usually just say you can lift up your stovetop surface like a hinged lid, but many models of the residential stove are screwed or clipped into place. Start by looking at the underside of the stove lip as it overhangs the oven door and handle. You may see clips or you may see a metal plate that secures the stove in place with screws.
Either way, release the locking mechanism, then lift your stovetop like a hinged lid. There may be a bar or prop the stove open or you may need something to prop it open with. Now that crumb-covered under-surface should be fully visible.
Step 6: Scrub the Under-Stove (Top of Oven)
Be careful not to sweep crumbs or drip soapy water into the oven housing when cleaning this surface. Start by sweeping all the crumbs into the center of the under-stove surface with a paper towel or cloth. Then carefully pick up the crumbs and remove them to the trash can. With most of the crumbs gone, you can start scrubbing at the old grease and drips that made it through the burner drip-pans over the years. Remember not to drip over the edge of this surface.
Step 7: Dry Everything Thoroughly
Your next step is to make sure all oven and stove components are completely dry before reassembly. Grab a dishtowel and start by drying the top of your oven, aka: the under-stove surface. This will prevent any residue from cooking on the next time you heat the oven or stove.
Then dry the drip pans and burners. Pay particularly close attention to the burner ports and/or gas starters.
Step 8: Reassemble Your Squeaky-Clean Stove
With everything clean and dried, you’re ready to reassemble a stove that hasn’t been this clean since the day it was installed. Fold-down your stovetop. If it has clips, make sure they latch. If it had screws, put them back into place and tighten to be sure no one can accidentally lift the stove while it’s in use.
Then replace the drip pans, lining up each with the correct sized burner and aligning the holes with the burner ports. Finally, fit your burners back into place by slotting their posts into the ports, through the drip-pan holes. Now step back and admire your handiwork.
Congratulations!
You now have a stove that is likely cleaner than you have ever seen it before. And with this comprehensive cleaning method hidden up your sleeve, you’ll never have to worry about a dirty stove again. Right down to those unreachable crumbs that fall beneath the burner and drip pans. For additional maintenance and repair tips for any of your home appliances, or for professional appliance repairs from technicians with the know-how, contact us today!

